There are five file formats supported as bmp, jpg, png, gif, tiff. Pixel formats supported of bitmap are 1bppIndexed, 4bppIndexed, 8bppIndexed, 24bppRGB, 32bppRGB, but not be sopported 16bpp and ARGB, PARGB.
'Open' of the pulldown menu opens a file. I forgot to add the function to open a file by drag and drop by oversight. That shall be added for next version.
'Close' closes a file already opened. 'Undo' would be voided by Close and Save, SaveAs.
A filename and expression scale are indicated on the title bar, and file size and bits per pixel are indicated on the status bar.
'Fit Window' expresses a file fully due to fit scaling in the window.
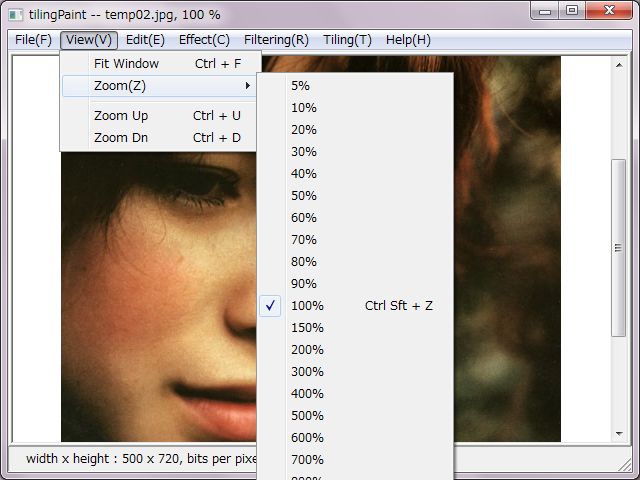
'Zoom' expresses among 5 to 1000 percentage scaling due to choice.
'Zoom Up' and 'Zoom Dn' change scaling in a step.
'Ctrl + Shift + Z' shortcut key expresses 100 percentage scaling.
'Undo' undoes last changes. The image turns back. It could undo last one hundred changes to the extent that a drive has enough capacity.
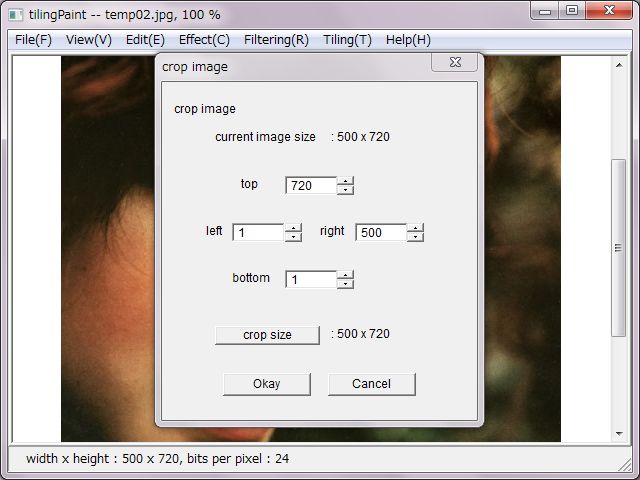
'Crop' does cropping / trimming the image. It's a common method to draw a cropping rectangle due to the mouse though, numerical setup is adopted daringly. That's sometimes convenience in terms of one pixel.
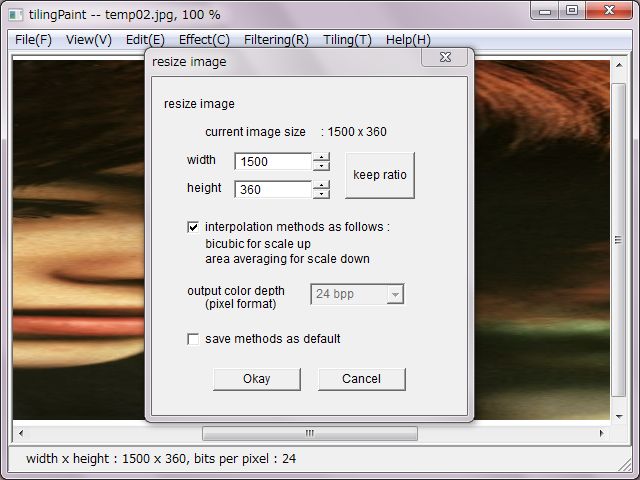
'Resize' does enlargement and reduction, change in shape. 'keep ratio' clicking keeps ratio of width and height after input a numeral of width or height. In case of that, last change would be a criterion.
As for the interpolation, bi-cubic method is adopted for enlargement and area-averaging method is adpted for reduction. In case of change in shape used both of enlargement and reduction, those methods also used compositely.
Bits per pixel of bitmap image would be 24bpp after interpolation.
In case of interpolation non-used, near-by method would be used for resize, and it's possible to select original bits per pixel or 24 bits per pixel for the effected image.
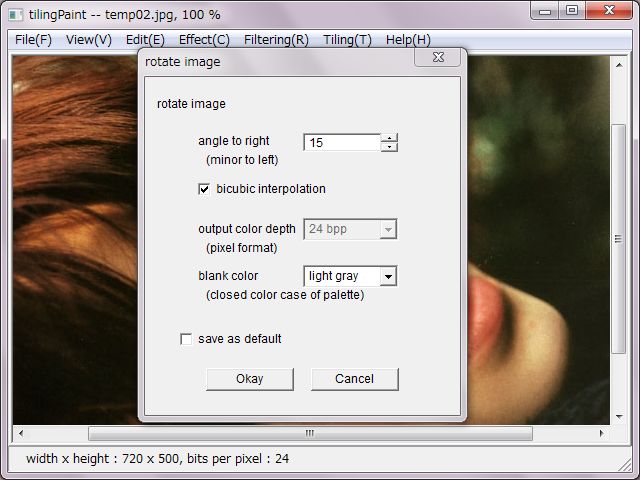
'Rotate' rotates the image. Pull down menus were arranged for 90, 180 and 270 degrees. 'Arbitrary' rotates due to input optional degree. Original bits per pixel is inherited in terms of 90 degrees, and 24 bits per pixel for optional dgrees.
'Flip' flips vertical or horizontal.
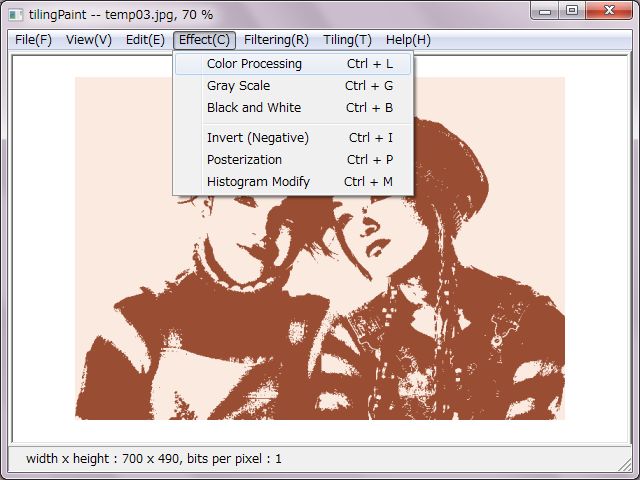
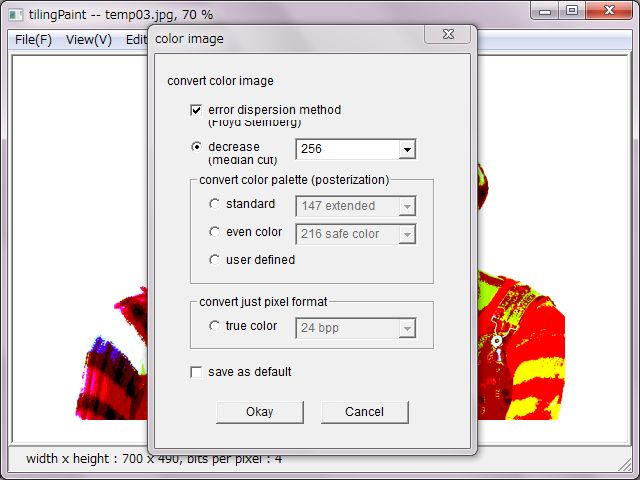
'Color Processing' decreases colors due to median-cut method, converts color palette due to standard color and even color, user-defined color. In these cases, error-dispersion method could be used.
It's possible to just convert to 24 bits per pixel image. In this case, error-dispersion method not have effects.
It's equal posterization to decrease colors without error-dispersion method. Equitable distribution posterization is equal to decrease colors due to use an even color palette.
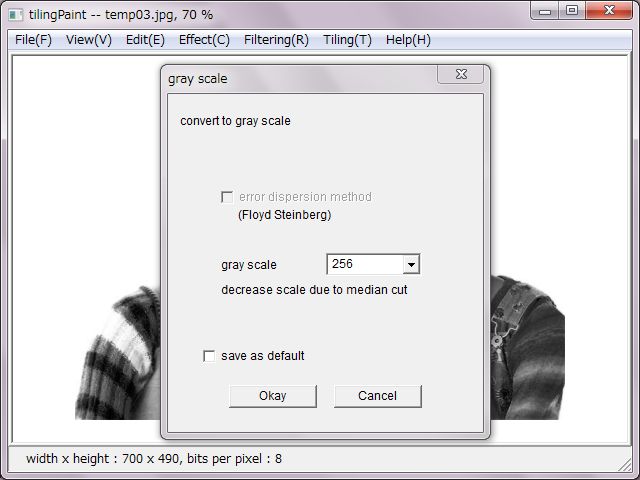
'Gray Scale' converts the image to gray scale from 2 to 256 levels.
256 levels is comparable to true color as the gray scale. Therefor error-dispersion method is no used for that. In case of under 128 levels, error-dispersion method would be selectable.
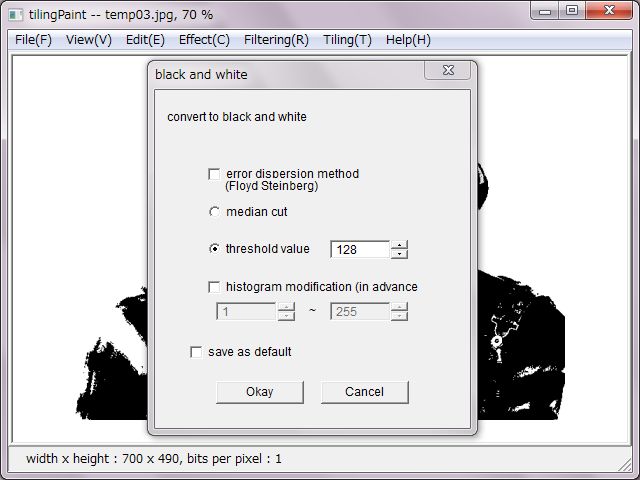
'Black and White' converts the image to two colors black and white.
For separation to black or white, there are two methods as median-cut and threshold. It's possible to modify the histogram in advance for threshold. In normal cases, it's enough to use just threshold.
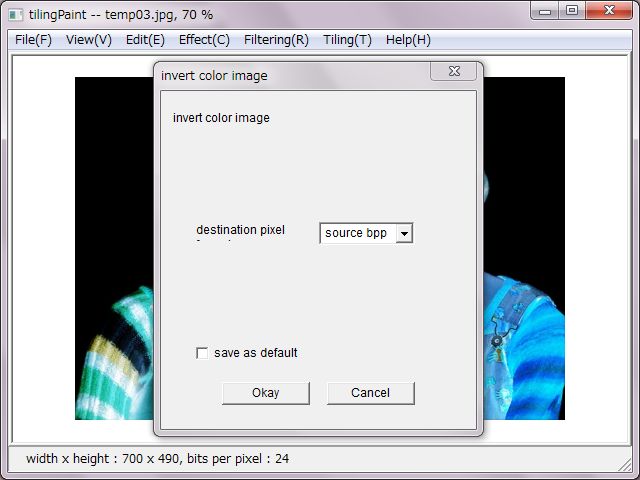
'Invert' inverts colors, so-called negative image. It's selectable original bits per pixel or 24 bits per pixel.
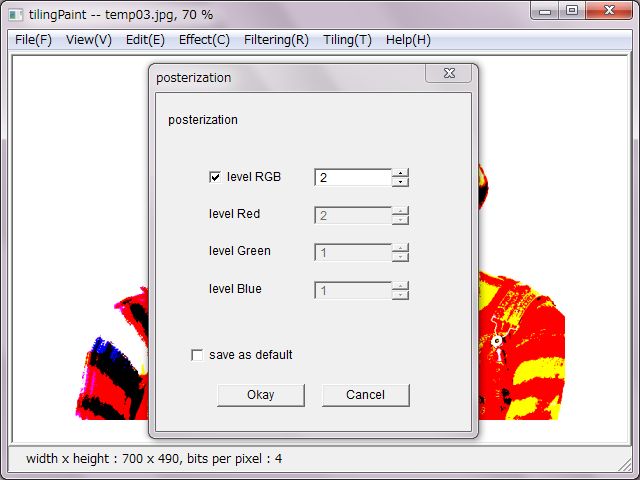
'Posterization' converts colors to equitable distribution colors. Each color of RGB could be distributed individually due to numeral input.
'Histogram Modify' modifies histogram. It converts range of color values of RGB individually. Default values is 0 to 255 which is equal to histogram expansion.
Filtering is one method of effects due to filters. A filter is also called "operator" and "mask" physically.
Almost famous operators are implemented to the software in guessing. And it's possible to use an operator created by a user.
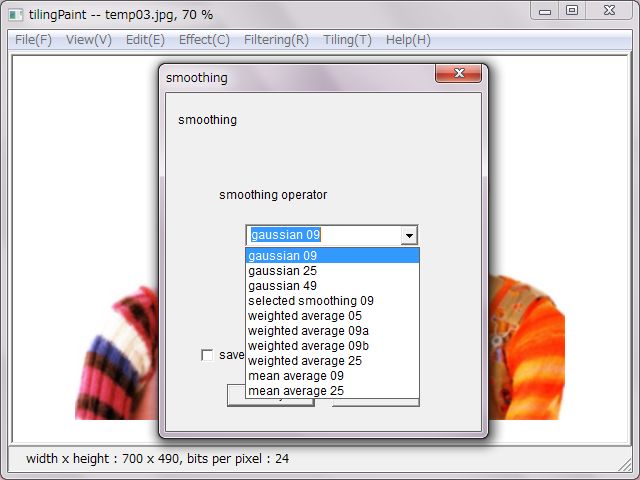
'smoothing' makes colors smooth overall of an image. It's also possible to remove noises from an image in a way, but it has an effect to break the edge. Famous operators are gaussian and mean average, weighted average, which are ready multiple operators as different sizes. As another there is a selected smoothing operator.
'edge-preserving' is a kind of smoothing operators though, another menu is ready for. This operator makes an image color smooth but does not break the edge. One criterion is selectable from criteria for processing ready as range, variance and standard deviation. In usual it's enough to choice a variance. There are not large different results between those criteria.
'sharpening' has two sized operators of a high-pass filter. It sometimes make an unnatural image due to do too much.
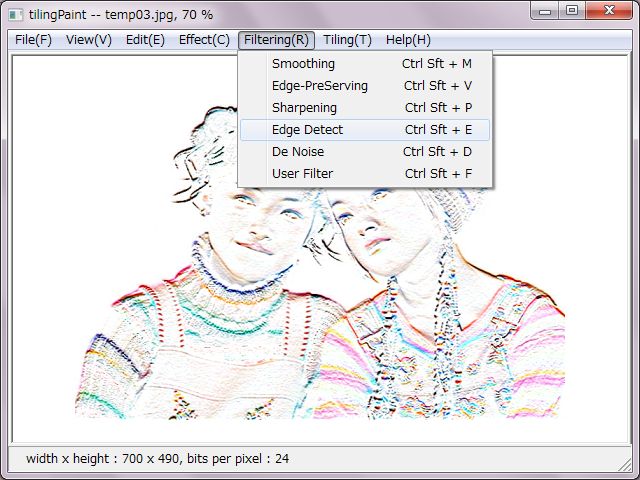
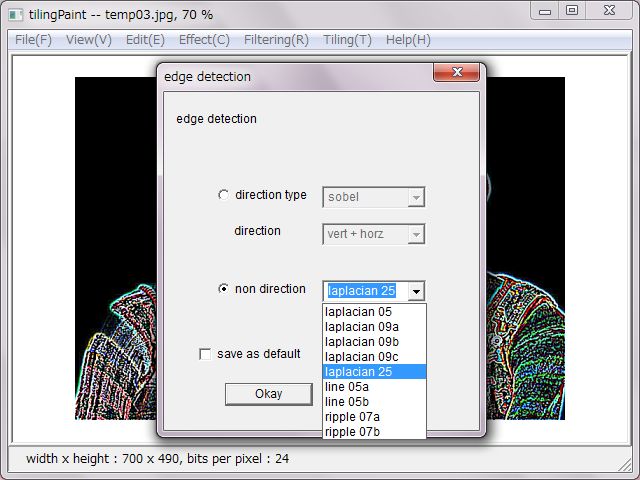
'edge detection' has sobel, prewitt, kirsh and gradient which have directions as vertical, horizontal, oblique, vertical + horizontal, and has several types of laplacian, line and nipple.
'de noise' has median method which is the best for that. There are three sized operators.
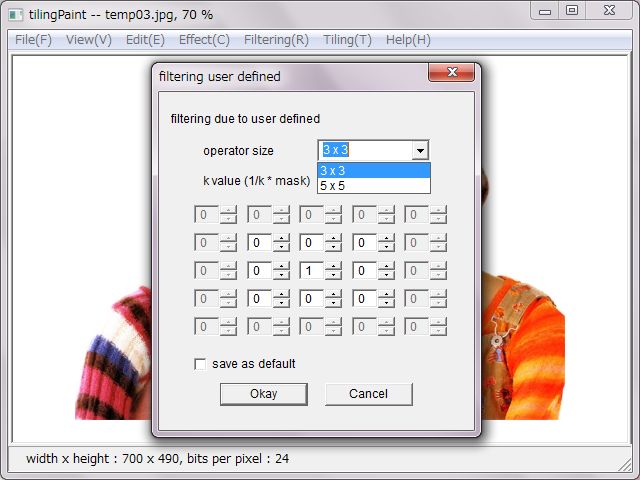
'user defined' has two sized operators as 3 x 3 and 5 x 5.
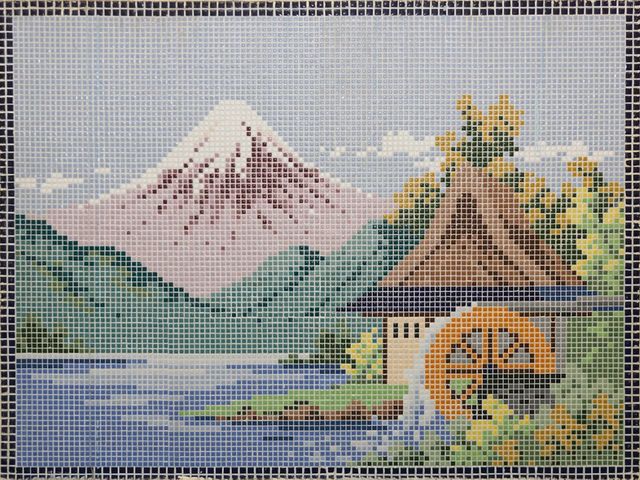
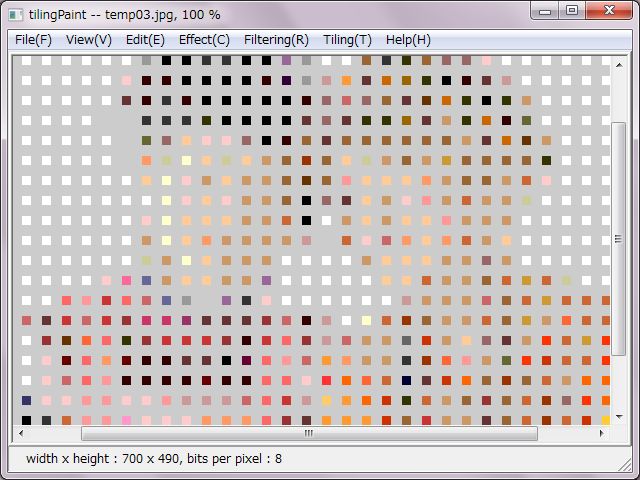
There are roughly two setups for tiling, those are coloring and tiles.
As for color setup, 'in case of no checking 'convert color', tiling is processed to true-color. In case of checking 'convert color', there are three types of color palettes for selecting which are decreasing colors due to median-cut method and even-color palette, user-define color palette.
Multiplicator of 2 among 2 ~ 256 color would be selected for decreasing due to median-cut method. Even-color palette would be selected from eleven preset palettes. User-define color palette would be selected from CSV files which a user created in advance.
A user-define color palette is easy made as a CSV file. It could be a tiling simulator due to feed RGB values of real tiles set.
As for tile setup, sizes or counts of vertical and horizon should be configured. However, it would be approximate quantity in case of counts.
And, pixel size and color of vertical and horizon slits. Slit is considered as the width of joint. Slit colors are ready as six levels gray, which would be the color in case of tru-color, but would be converted to approximate color in the color palette in case of converting.
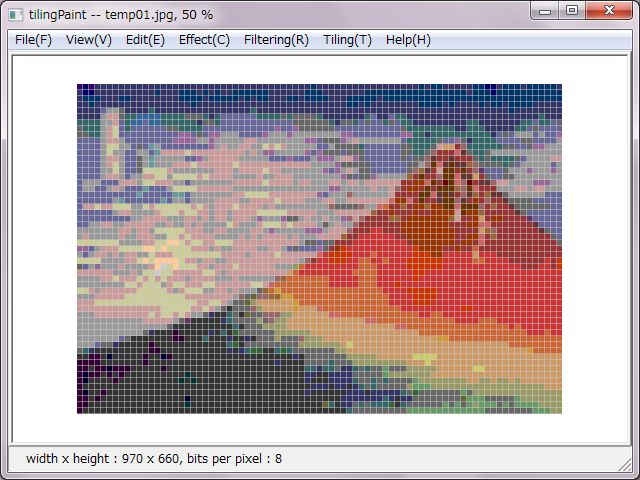
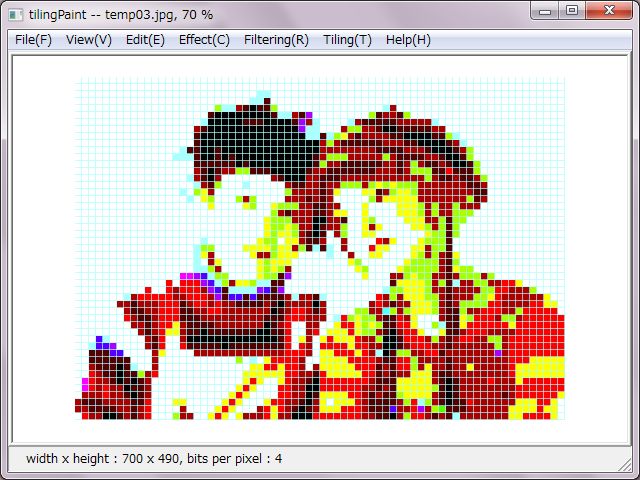
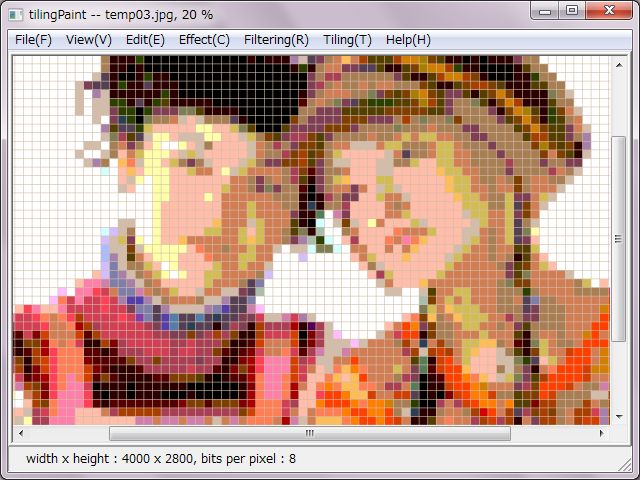
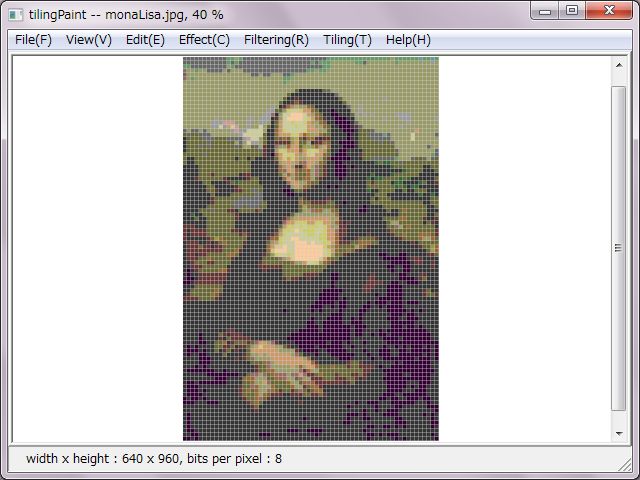
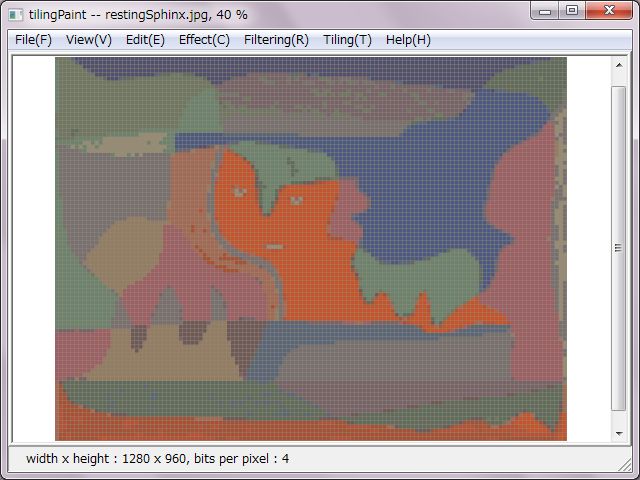
Both of right tiling pictures were decreased to sixteen colors. A left side picture was decreased due to median-cut method. A right side one was converted and decreased to sixteen colors due to even-color palette.
Decreasing colors due to the even-color palette has a same effect as the posterization. That mechanisms are same too.
Incidentally, I sometimes use a tiling picture to post into SNS for hide faces.
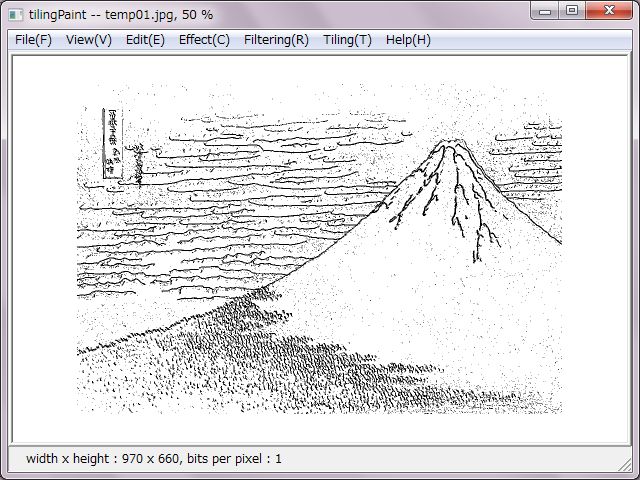
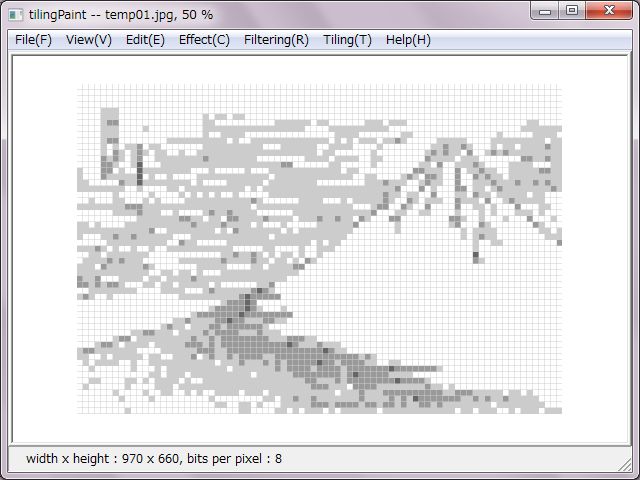
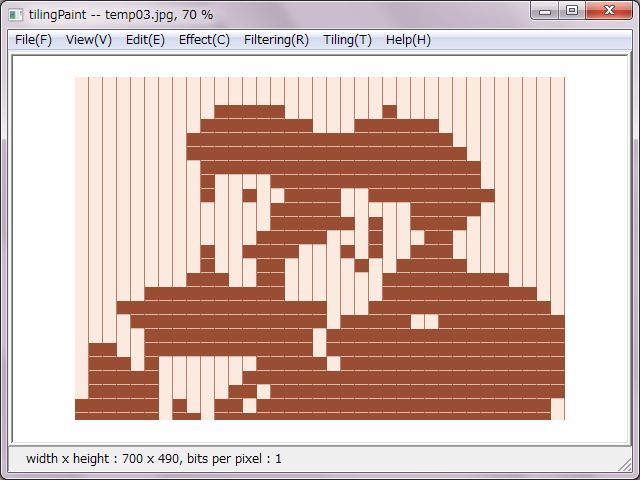
No need to make it this far, right pictures were decreased to two colors. Slit colors were allocated to the two colors due to set horizontal slit as light gray and set vertical slit as deep gray.
A right side picture was set double tile size. That made expressions on faces and outline form to be looming.
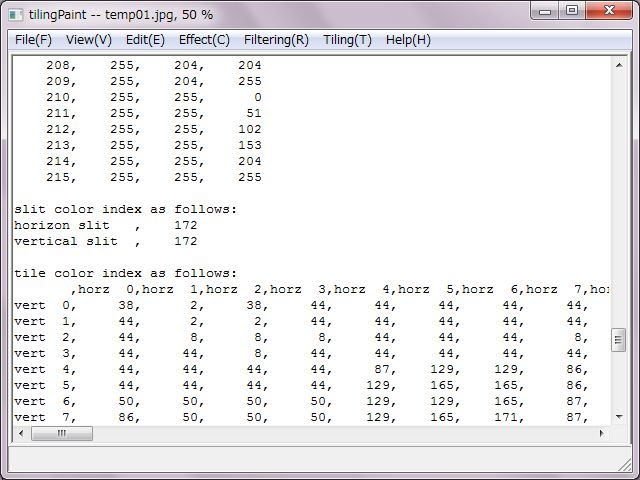
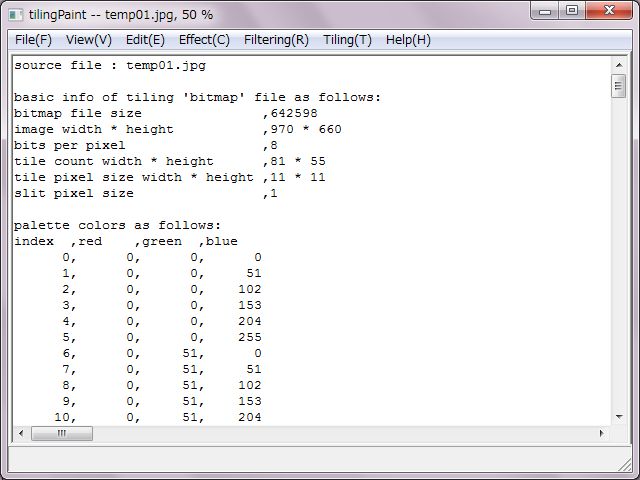
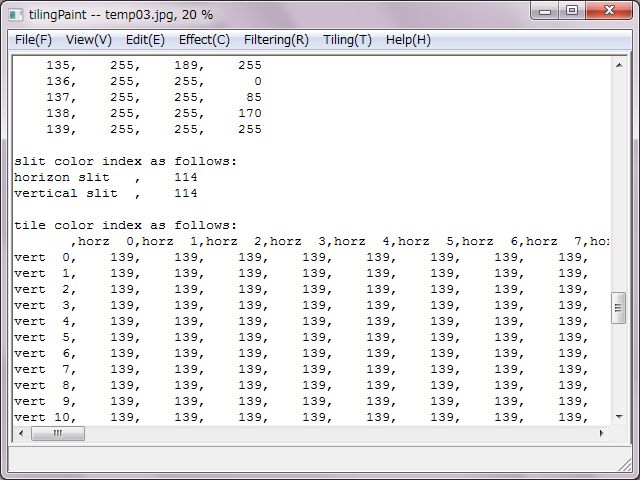
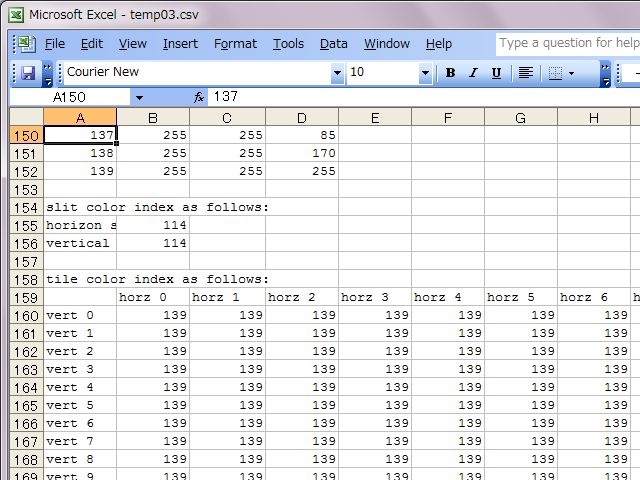
Right pictures are design tables of converting to sixteen even-color palette.
At first, basic file informations are expressed. And, RGB values table of slits and tiles colors are expressed in case of true color. In case of decreasing or converting colors, at first RGB values of the color palette are expressed and indexes of slits and tiles are expressed.
These informations could be saved as a CSV file.
That makes easy to count specified index due to a spreadsheet software. Counts of each specified index/color tile would be calculated and be expressed.